RMG Shield logo Redbridge Group Header Logo RMG Shield logo
Mounting a picture, affixing stringers, borders and cutting mitres
by David Walker

Nothing spoils the visual aspect of a picture more than unequal or crooked borders or mitres that are not cut accurately. As with other features of Marquetry there is no absolute correct method of carrying out these tasks. Each marquetarian will have found the best method that works for them. The method that I describe in the following article is the one that I have found acceptable for me.
  Borders : A veneer edge that surrounds the picture
Glossary: Stringer : A thin strip of a contrasting veneers that separates the border from the picture.
Can be a plain colour or a made up veneer.
 

Mitre :

The method of joining the borders at the corners


Before we even start to attempt to mount the picture we have to ensure that both the picture and the baseboard are absolutely square.

I use MDF board to glue the picture down. It is reasonably light and easy to cut and plane. Use an accurate set square and if necessary a metal straightedge to mark up the board. The picture is squared up with a set square and knife.


The picture must obviously be mounted in the centre of the board.

My method of finding the centre of the board and picture are the same. With a straight-edge, draw a pencil line from corner to corner on the base board. (Fig 1)

Using the set square draw vertical and horizontal lines through the centre point, i.e. where the diagonal lines cross, on the base board
(Fig 2 & 3).
Figure 1
Figure 2 Figure 3
Figure 4

Before marking the picture fix veneer tape diagonally from the corners to prevent pencil lead marking the picture as this can be difficult to sand out, especially on light coloured veneers. (Fig 4 & 5)

With a straightedge draw lines from corner to corner but only mark with a pencil on the veneer tape.

Where the diagonal lines cross will be the centre mark.

Draw horizontal and vertical lines, as before, on the face side of the picture but again use veneer tape to draw on. (Fig 6 & 7)

The picture is now ready to glue down.

Figure 5 Figure 6

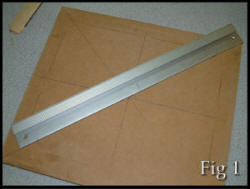
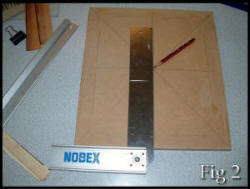
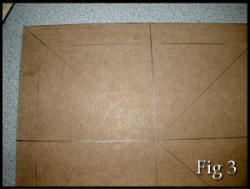
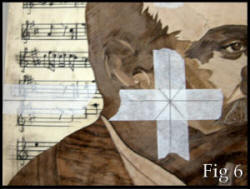
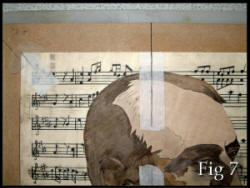
Position the picture on the board so that the centre lines on the picture marry up with the centre lines of the base board. (Fig 6 & 7) and draw around the picture with a pencil.

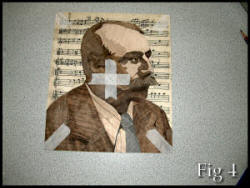
Remove the picture and the outline can be used to see where to spread the glue.

I use white PVA glue to lay the picture but when using this type of adhesive a veneer press must be used to complete the pressing.

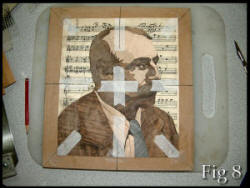
Spread a layer of glue on the board and then place the picture on the glued part and slide the picture about to exclude any air pockets again marrying up the lines at the centre and edges.

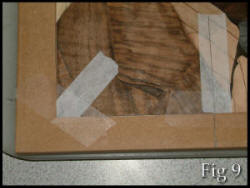
Secure with sticky tape to prevent it moving when pressing.
(Fig 8 & 9)

Figure 7
Fig 8 Fig 9

Next Page >

Learn with Redbridge Marquetry Group Page: 1 | 2 | 3 | 4 | 5 | 6